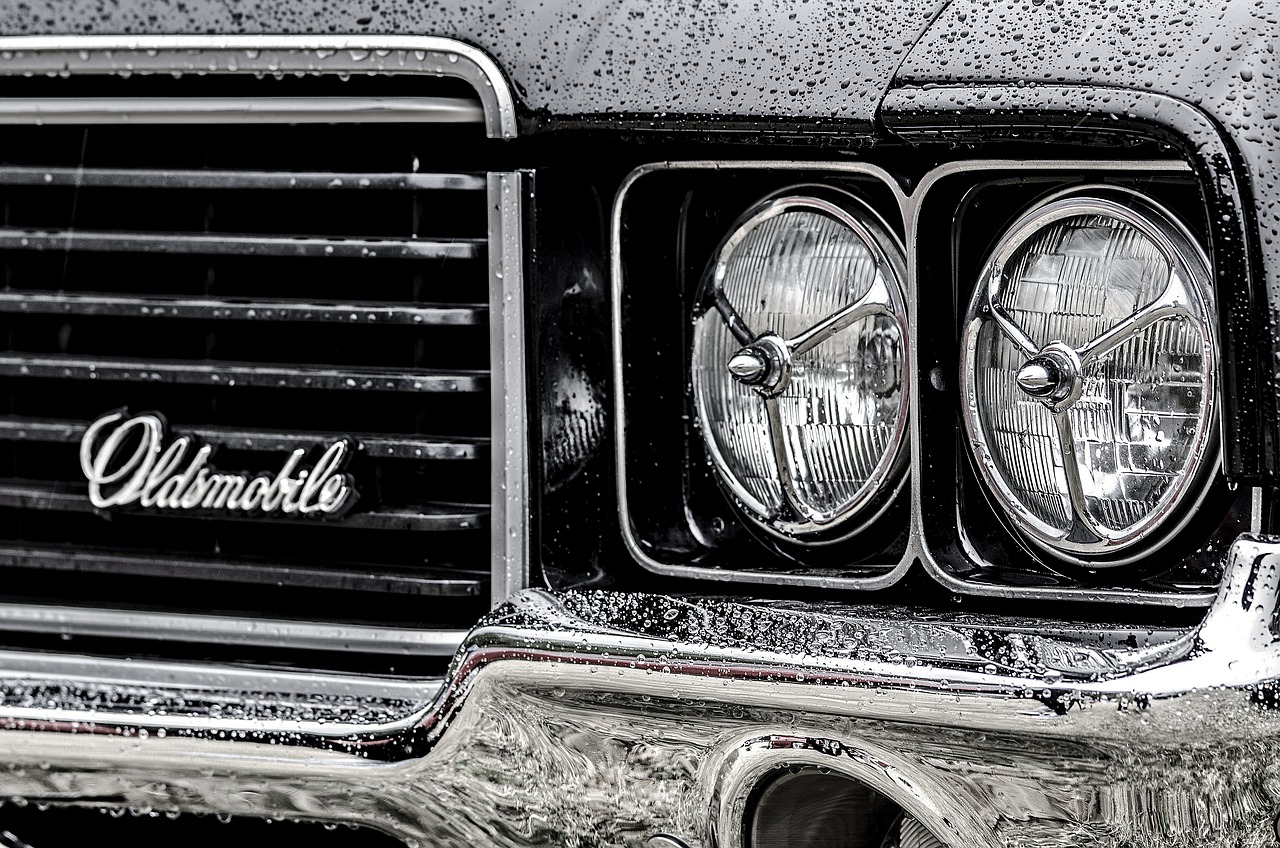
Hey there, fellow car enthusiasts! Patrick James here, and today, we’re going to shed some light on a topic that’s often overlooked but crucial for safe driving: changing your car’s headlight bulbs. Whether you’re a seasoned pro or just starting to get your hands dirty under the hood, replacing your headlight bulbs is a reasonably simple task that can make a big difference in your driving experience. So, grab your gloves and let’s get started!
Know Your Bulb Type
Before diving into the replacement process, it’s essential to know what type of headlight bulb your car uses. The most common types are halogen, LED and HID bulbs, each with its own characteristics and installation requirements. Refer to your owner’s manual or consult with a professional if you’re unsure about the right bulb for your vehicle.
Gather Your Tools
To replace your headlight bulbs, you’ll need a few basic tools, including a screwdriver, gloves, and of course, the replacement bulbs. It’s also a good idea to have some cleaning supplies on hand to ensure a clear view once the new bulbs are installed.
Locate and Access the Bulbs
The location of your headlight bulbs can vary depending on the make and model of your car. In most vehicles, the bulbs are accessible from the back of the headlight assembly, which may require removing a cover or assembly. Refer to your owner’s manual for specific instructions on accessing the bulbs in your car.
Remove the Old Bulb
Once you’ve accessed the headlight bulb, it’s time to remove the old bulb. Depending on the type of bulb, you may need to twist it or gently pull it out of the socket – again, your manual will advise how your car’s bulbs are secured.
Install the New Bulb
With the old bulb removed, it’s time to install the new one. Before inserting the new bulb, double-check that it’s the correct type and size for your vehicle. Carefully insert the new bulb into the socket and secure it in place according to your car’s specs. Avoid touching the glass of the new bulb, the oils in your fingers can damage it.
Test the New Bulb
Before reassembling everything, it’s crucial to test the new bulb to ensure it’s working correctly. Turn on your headlights and verify that the new bulb lights properly. If the bulb doesn’t light up, double-check the installation and connection, as well as the bulb itself.
Reassemble the Headlight Assembly
If the new bulb is working correctly, it’s time to reassemble the headlight assembly. Replace any covers or pieces that were removed earlier, ensuring they are securely in place.
Adjust the Headlights (if necessary)
After replacing the bulbs, it’s a good idea to check and adjust your headlights’ alignment. Properly aligned headlights not only improve visibility but also prevent blinding other drivers. Refer to your owner’s manual for instructions on adjusting your headlights.
Dispose of the Old Bulb Properly
Properly dispose of the old bulb according to local regulations. Many auto parts stores and recycling centers accept old bulbs for recycling.
Replacing your car’s headlight bulbs is a simple yet essential maintenance task that can improve your driving safety and visibility. With the right tools and a little know-how, you can tackle this project with confidence. Remember, if you’re ever unsure about any step of the process, don’t hesitate to seek help from a professional.
Do you change your own bulbs? Any tips or tricks I’ve missed? Let me know in the comments!
Safe driving!
Patrick James